Creating apps is essential for showing only what the user needs to see. Remember that Dynamics is an enterprise platform, but a simple sales role only needs to se bits of it. Therefore we create an app containing the configuration we want the given security role to see.
Navigate to www.powerapps.microsoft.com and open Solutions on the left

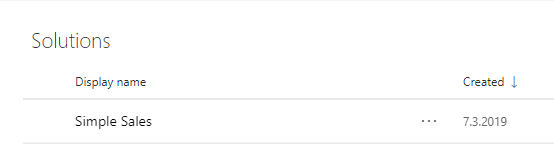
Find your solution, and open the edit via the “…”

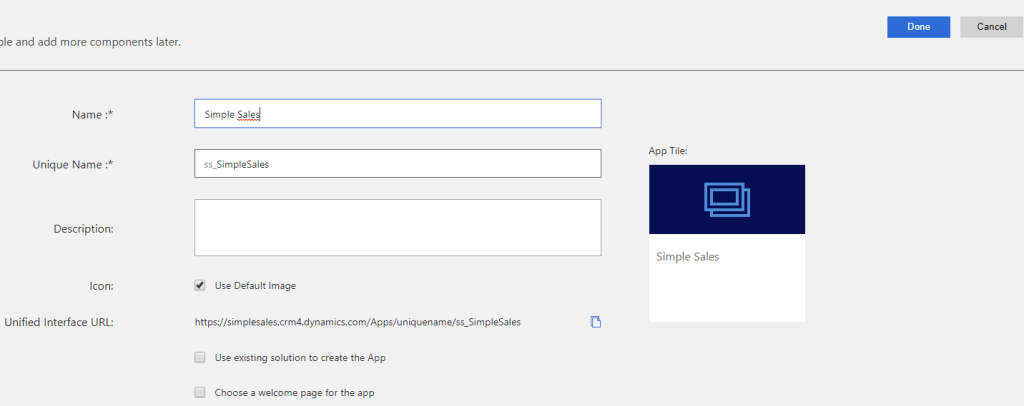
Add a new Model-driven app. This is what we CRM consultants know as a regular CRM configuration. A Canvas app is the “No Code – Low Code” powerpoint approach to designing apps. Trust me, it is code and it is not what you want for this simple exercise.

This is where it starts getting tricky if you are here for the first time. The sitemap that we used to design in other tools has now been moved into Dynamics, and is configurable PR app. Start by opening the sitemap. The entities will come later.
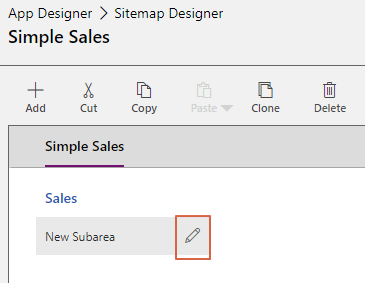
The clicks here might be a little confusing here, but it will make sense in the end. I put “Simple Sales” as the name of the app and the main navigation. You can put whatever you want there. Sales is a grouping and SubArea is the entity we are going to define. Use the “+” when adding. Drag an Drop doesn’t always work that well.
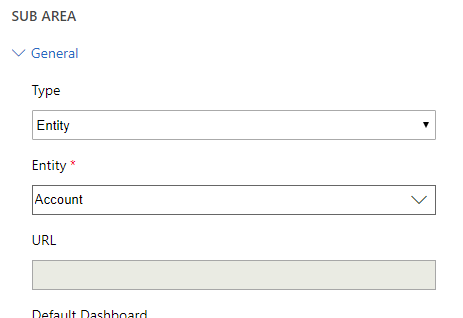
On the right side you choose type “Entity” and entity “Account”.
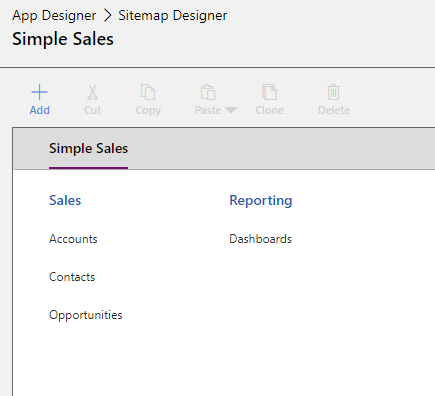
Eventually I ended up with this. All I need to see is are 3 entities and Dashboard for my simple sales demo.
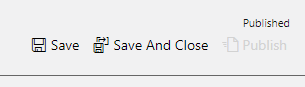
Do not forget to click “save”, then “publish” before “save and close”. If you don’t publish, you won’t get the changes you need.
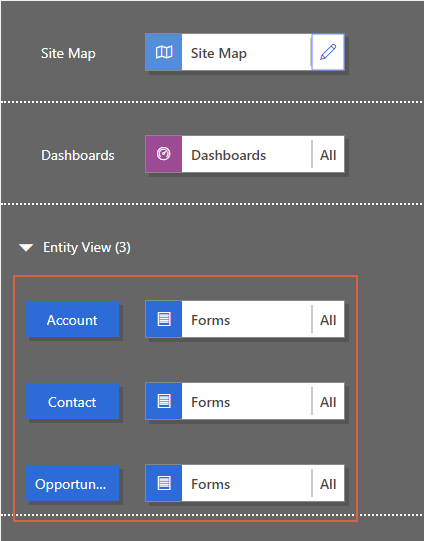
As you can see the app is now populated with a few new entities. In my simple demo I am not going to limit what is shown out to the end user. You have the option of choosing forms, dashboards, view etc.

Save, Publish and PLAY!

You have now created a new app:)
Discover more from CRM Keeper
Subscribe to get the latest posts sent to your email.
