The API approach has been available for a long time, but now the autonumber is available through the config. Jonas Rapp’s autonumber solution in XrmToolbox has been absolutely one of the best tools for this purpose so far, and not we might not need it any more. I belive the first release is missing some of advanced options that Jonas has, but it might work for most of us.
BUT why is this cool? Well, because it mentions that we can convert existing text field to Autonumber. This means that we can get rid of the stupid workflows/javascripts etc that we have made over the years to give some entities names for the name purpose:)
NB! you can only change the field to autonumber via powerapps.com. The Dynamics classic doesn’t support this. Below is the name field from a new entity. For the first time in EVER I could change the field type!!:)
I know we are supposed to use the UI, but it’s not ready for all purposes yet. Therefore it is nice to know that you can force the classic view for a little while longer. If for some reason you can’t use this approach, you can also change the URL like Jamie Bowman mentions here
There have been several post about this topic before, but this one is the only way I got it to work. Rasmus wrote about this a few weeks ago, and I am using most of his code. Ida was also early out mentioning this possibility, but I just couldn’t get it all to work before now. Big thank you to Jeroen Vos for BI assistance:)
Bear in mind that I had to start from scratch here to make sense of it all. You can fast forward quite a bit if you already have a data model. I believe Microsoft will release a OOTB function sometime this year, but until then we can demo embedded BI in CRM forms like this.
Create a report
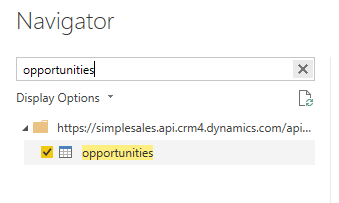
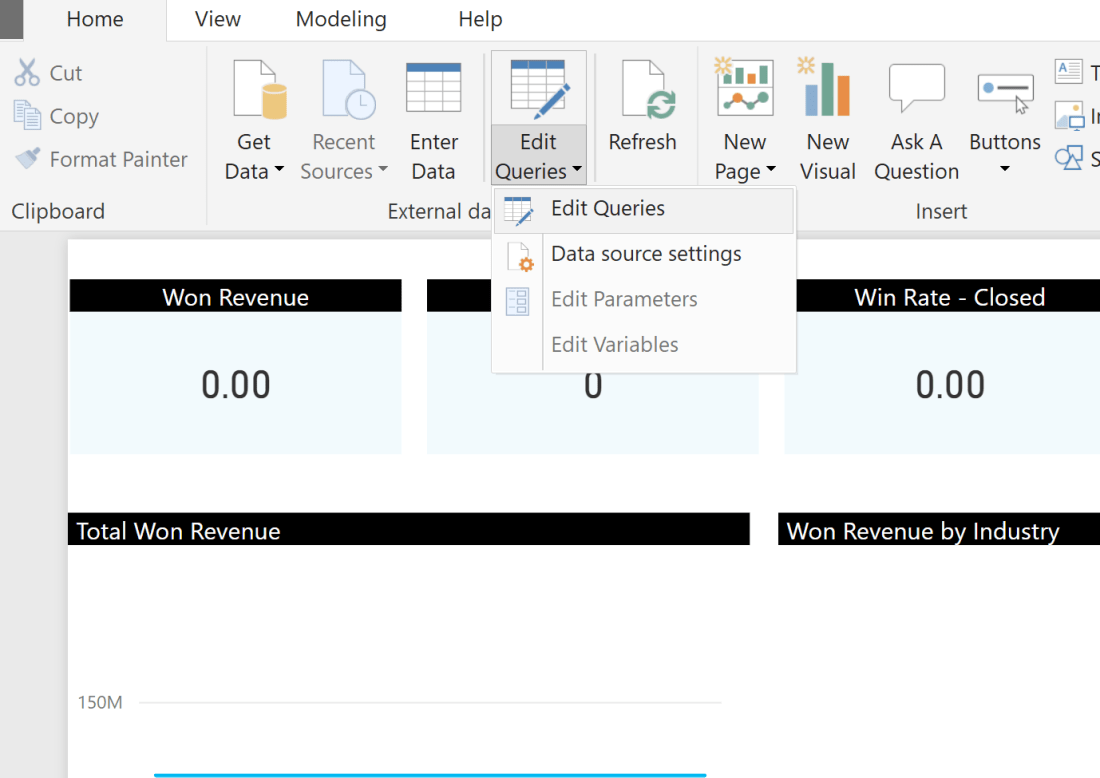
Start by opening Power BI dashboard, and creating a new project with “Get Data”
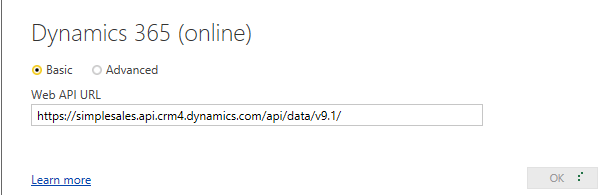
If you don’t know where to find the developer settings, you can copy the url from above, and just replace it with your org and crm* that you have in your country.
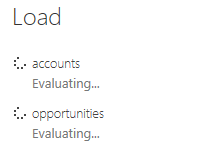
For this demo I am only choosing Account and Opportunity.
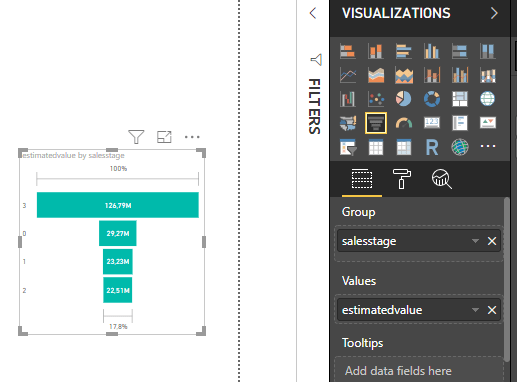
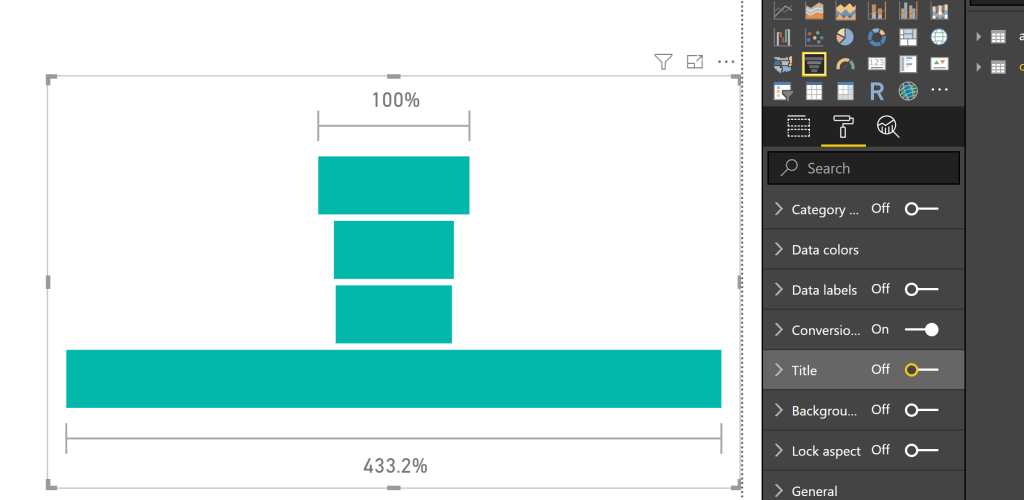
After loading, add the funnel graph.
Add the field salesstage and estimtedvalue. Both are from Oppty table.
Your report should resemble something like this. Now we have to format quite a bit for this to actually look presentable in Dynamics. Because this solution is highly custom at the moment, we need to make it fit the Dynamics IFrame for it to look decent.
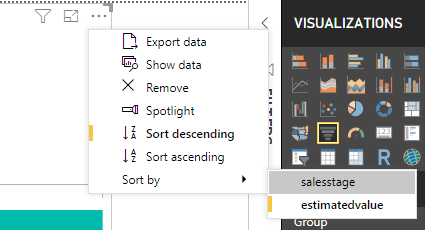
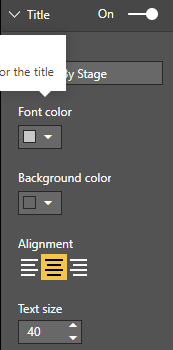
The most important format of them all is the page format to the right. You need to make this one small for the Dynamics Tab to be able to open it in full screen. I made it half of the standard. Eventually you should end up like something below:
Numbers on the right are a picklist, but for the demo I didn’t care to rename them.
Publish to powerbi.com
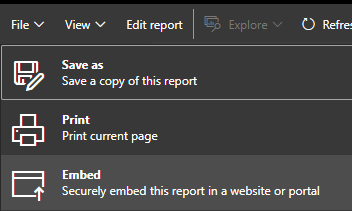
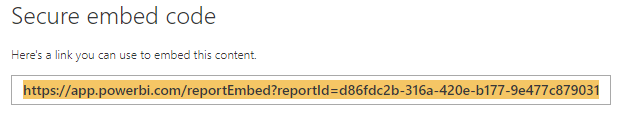
Remember to copy the URL here
Dynamics 365 form configuration
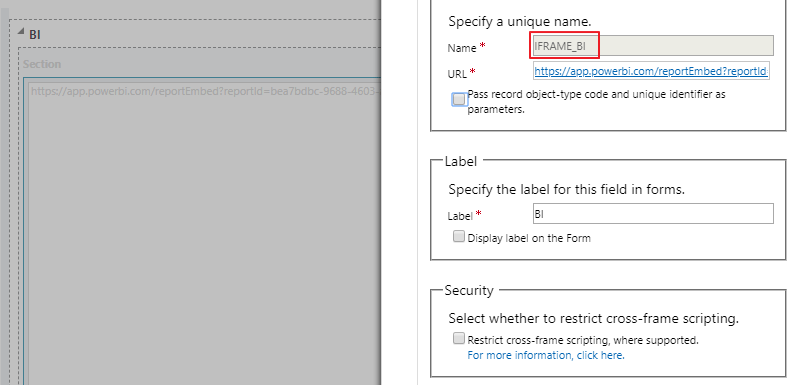
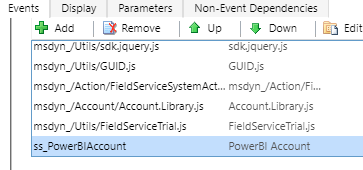
This process requires a webresource with javascript and a tab with IFrame in Dynamics. Because of the new UI this layout is actually quite nice!
URL can be any website since we are overwriting it anyway. The name of the iframe is used in the javascript. Don’t restrict any cross-frame scripting.
function SetBIFrame(executionContext){
    var formContext = executionContext.getFormContext();
    var pbiFrame = formContext.getControl("IFRAME_BI");
    var GUID = formContext.data.entity.getId().replace(/[{}]/g, "");
    //replace the Power BI url with the url from the Embed step
    var PBIurl = "https://app.powerbi.com/reportEmbed?reportId=d86fdc2b-316a-420e-b177-9e477c879031&autoAuth=true&ctid=83121429-cfda-4a1b-89c9-969eb42dc605";
    //accounts = account table in BI, and accountid=guid for account
    pbiFrame.setSrc(PBIurl + "&filter=accounts/accountid eq '" +GUID+ "'");
}
Only thing you need to change is the URL from the powerbi.com secure embed. Since I am using account and opportunity out of the box, the table names for both of them are “accounts” and “opportunities”.
In the filter above I am filtering the results in the Account table with the account ID that i will find within CRM. The result is to show a graph for only that single account.
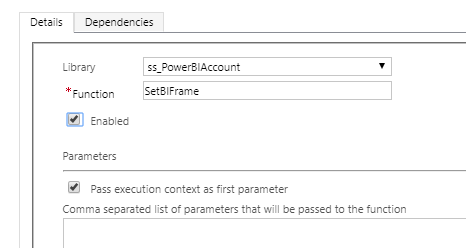
Remember to Pass Execution Context here. I don’t really now why, but it wont work without. Normally when I script I don’t have to use this, but if someone would tell me what it does I am happy to learn:)
Publish all settings and open Dyanmics 365 to the account (that you know has some opportunities).
As you can see Alpine Ski House is showing a sales funnel of the opportunities related and nothing more. This is a filtered report in Dynamics based on the account in a BI tab on top. Navigation here in dynamics is pretty smooth.
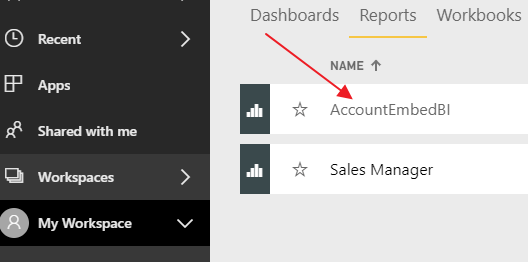
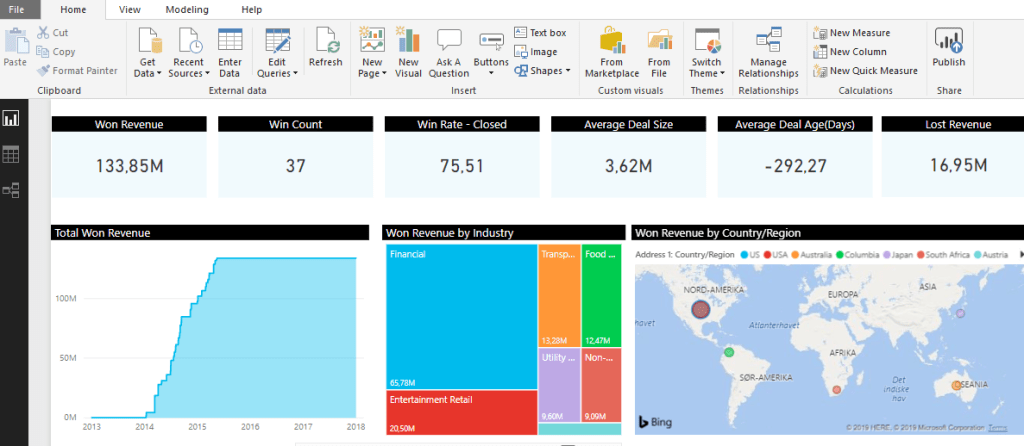
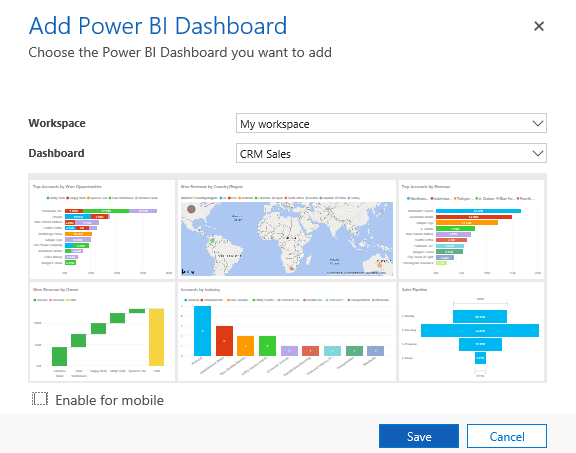
Open https://www.powerbi.com and locate the report you uploaded. A report itself can’t integrate with Dynamics, so we have to create a Dashboard for CRM to be able to pick this up. Open up the report
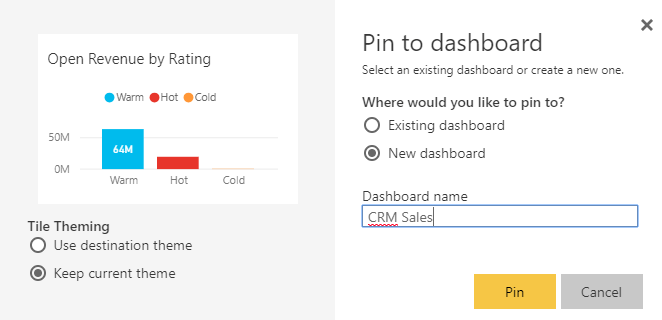
Find a chart you like and pin it
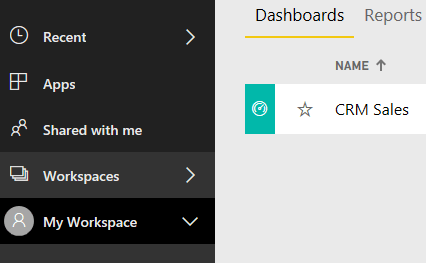
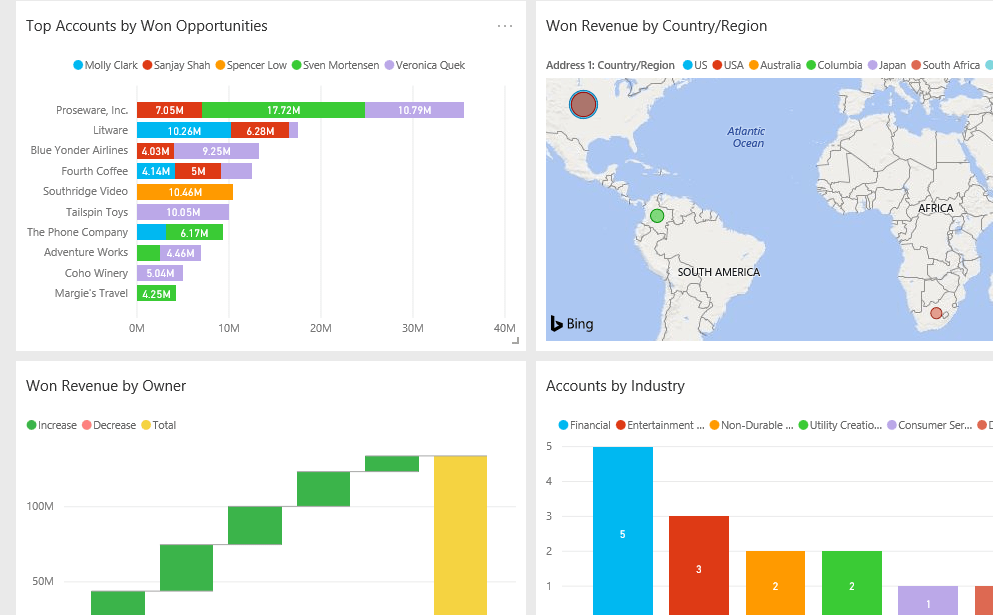
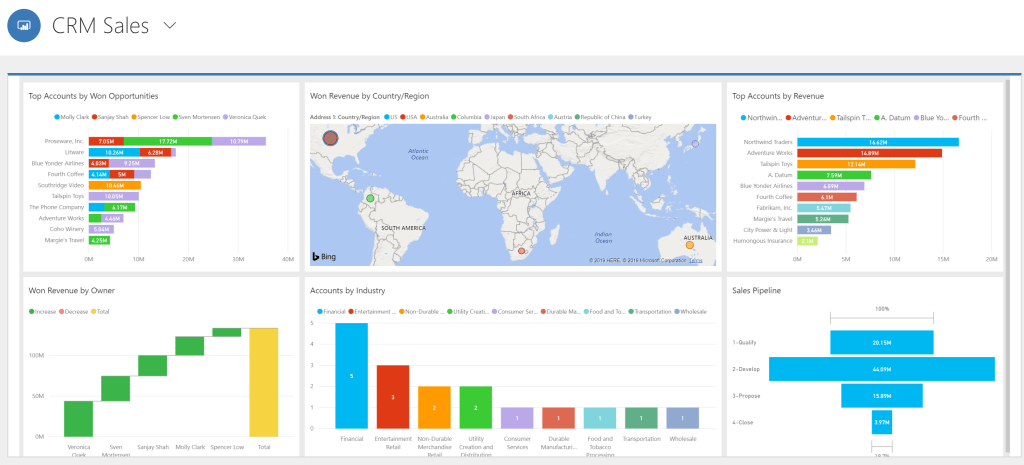
Continue the process for the charts you like, but add them to the existing dashboard “CRM Sales”. Eventually you might have a dashboard looking something like this:
NB!!! I had to make the size of these charts fairly large. Otherwise Dynamics 365 was doing strange things with scaling. Just try different approaches.
There is something wrong with the BI content pack for Dynamics 365. It might be my setup, but this is what I have to do before demos to fix the connection problem. The issue is related to the content pack filters locked. So after completing the setup you will se an almost blank BI dataset. I haven’t figured out why, but figured out a way around.
Solution
I will go through the steps to fix the report and make it ready for demo.
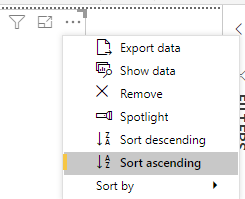
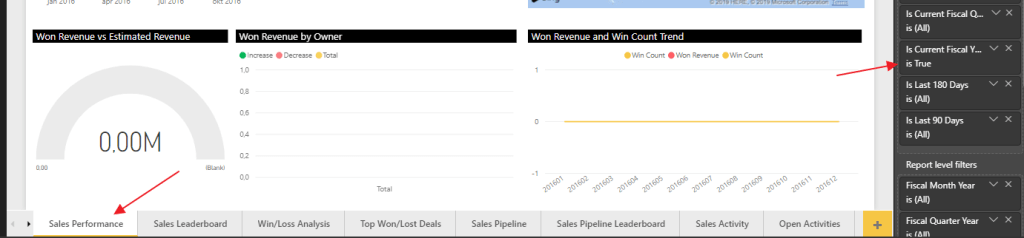
In the filter view for every page you will notice that there is an active filter. This is the problem when looking into the data!”
I personally would remove all the filters pr page for the purpose of the demo. More data looks better:)
Next step is to fix the Dynamics source, so the system is getting data from the correct CRM system.
Find the query, advanced editor and change to the CRM org. Based on MS doc when writing this article, only the 8.2 was supported. When you are done, “close & apply”.
That’s it for the fix. This should now be ready to publish to Power BI online. Next step is embed Power BI report to Dynamics 365.
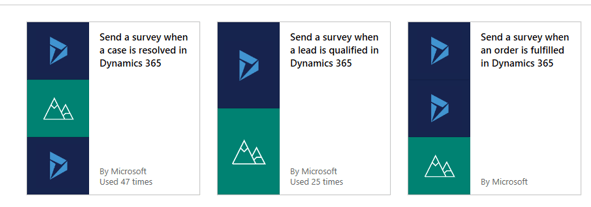
Dear VOC, Thank you for services provided, but you have been replaced with a younger and more exciting model.
During a call today Microsoft made it quite clear that you should start the transition to FormsPro. On the questions regarding what we do with existing customers, the answer was pretty clear “you should transition”. The one thing that I did think was a little strange was the fact that Microsoft said they would provide assistance migrating (a tool of course). Usually Microsoft doesn’t provide any form for tool for transitioning, and make the partners do this manually.
The magic
I might sound negative, but honestly I think it is quite amazing. VOC turning into a separate app on top of the CDS only commits that MS is really serious about the PowerPlatform story and APPS. Microsoft chose to store data in the CDS, so the options for this tool are almost endless. And even more, you don’t need Dynamics to deliver the product.
Licensing
So what will happen to the product now that it is no longer a Dynamics product? Good question. It was mentioned that licensing is in the works, so let’s hope that this won’t become another Marketing “scandal”. The only thing I would prepare for is a license that now cost more than what you pay today. You can hope for the P2 license to cover this, but probably no.
No one used VOC besides Dynamics customers with the license included. Being able to configure this product separately, you can use any system with a CDS connector. This will open a marked for the FormsPro that the VOC never had. The demonstration was used with Salesforce and Dynamics.
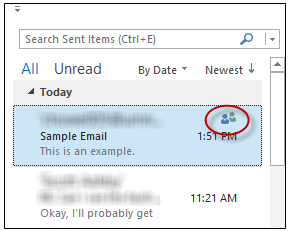
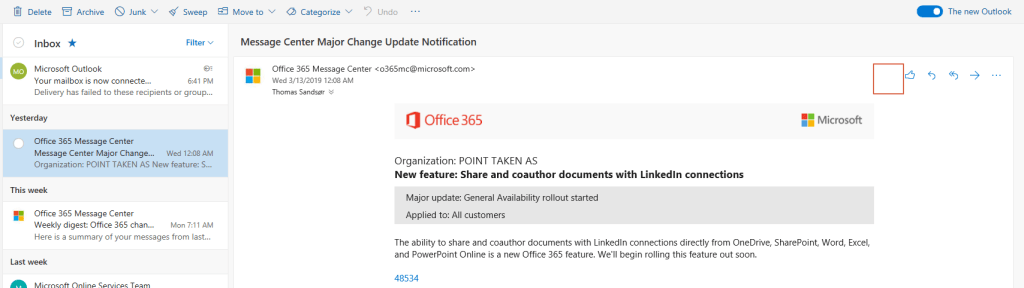
If you can’t find the Dynamics tracking app in OWA you are not alone. It is simply not supported (yet). Not quite sure why. As you can see in the pictures below, I have one with the new OWA and the other with the old OWA
The purpose of this exercise is to see tracked items in outlook that provide an important visual aid for the user. Why this is not default on I honestly don’t know.
The SharePoint standard connector will work for customers with simple needs for collaboration. There is a Teams integration available soon, and I will write about that once it is released in Europe.
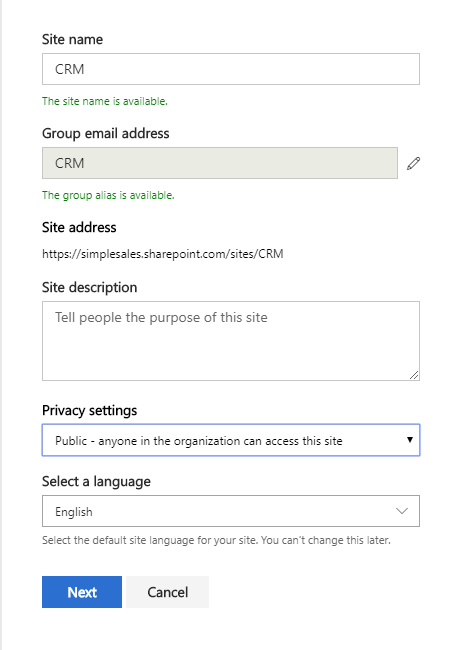
Start off by creating a new site in SharePoint. I prefer to create everything on a new site, because then we can control the site better.
Copy the URL of the site before you move on back to CRM.
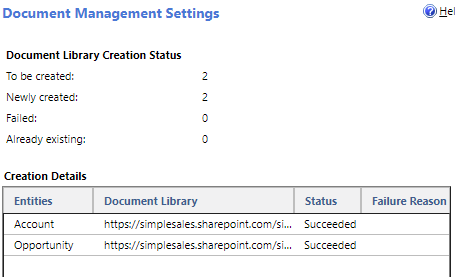
I prefer to create folder for the entities Account and Opportunity. Remove all the other entities in the simple demo (not that it really matters).
I prefer to have a structure based on account. This will create opportunity folders bellow the account folder.
If it all worked out, you can now open an opportunity with account connected.
Opening the document on opportunity will now give full access to storing documents in SharePoint. I will write an extended blog about considerations to make when integrating this to Teams later.