This is the last post in a long series about Customer Service and Dynamics 365. After several implementations over the years, the following configuration should be a great place to start.
Before we get started
Fire up a new trial of Dynamics with Customer Service, and add an office 365 trial to the same instance. I will not be going in depth on how to create a trial. Navigate here if you need tips
NB! for some steps you need Global Admin privilege
1. Exchange
The first step we need to do is setup a Shared Mailbox in the admin for O365. Navigate to https://admin.microsoft.com <- Make sure you are on the correct org when doing this.


When done you should se the message above. You now have successfully created a new email address for Exchange.
Dynamics Configuration
2. Import Solution
Download the solution from here
https://github.com/thomassandsor/CustomerService – open folder solution, and download THE LATEST VERSION 18+
In the video I will explain why UNMANAGED, but I am not an ISV is the short answer. I have written about what’s included, so easy to reverse.

Remember to PUBLISH CHANGES
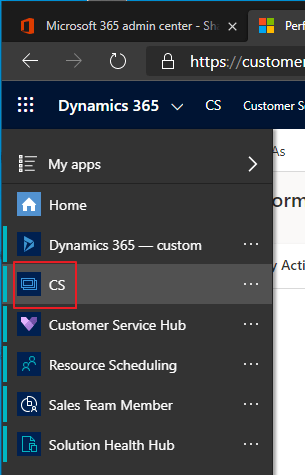
You will now see a new App called CS
3. Add Team + Security Role
Next you need to add a new team to Dynamics. Open the Advanced Settings in the navigation to the top right. We will be doing the next part in the old client

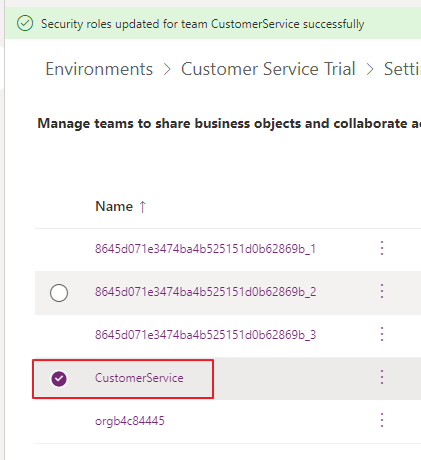
Open Settings – Security and Team. Add a new team and give it a name. I have chosen Customer Service. This is the team name that will own the Cases before they are assigned.
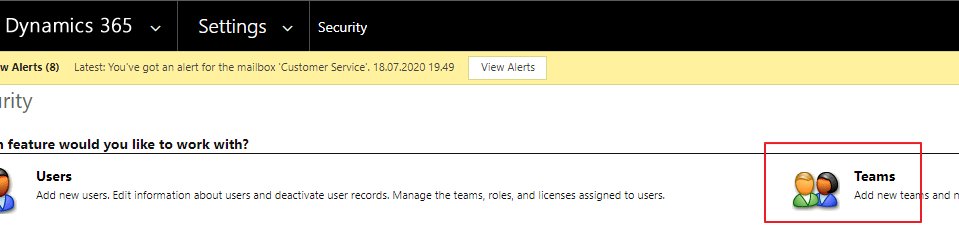
Also remember to add the security role “Team – Customer Service”. This security role is imported along with the solution

4. Add Queue + assign Team
This is the step where we connect Microsoft Exchange with Dynamics 365
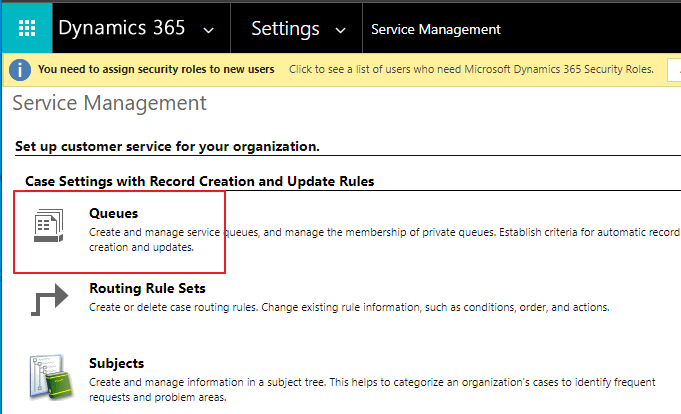
Name of the queue is not important, but make something that is sensible.

When you click save, a new Mailbox will be created automatically by the system. Open the Mailbox, an navigate to the next step.
5. Approve Email and test receive mailbox
This is the point where you need to be Global Admin to continue. Start by approving the mailbox/email address.
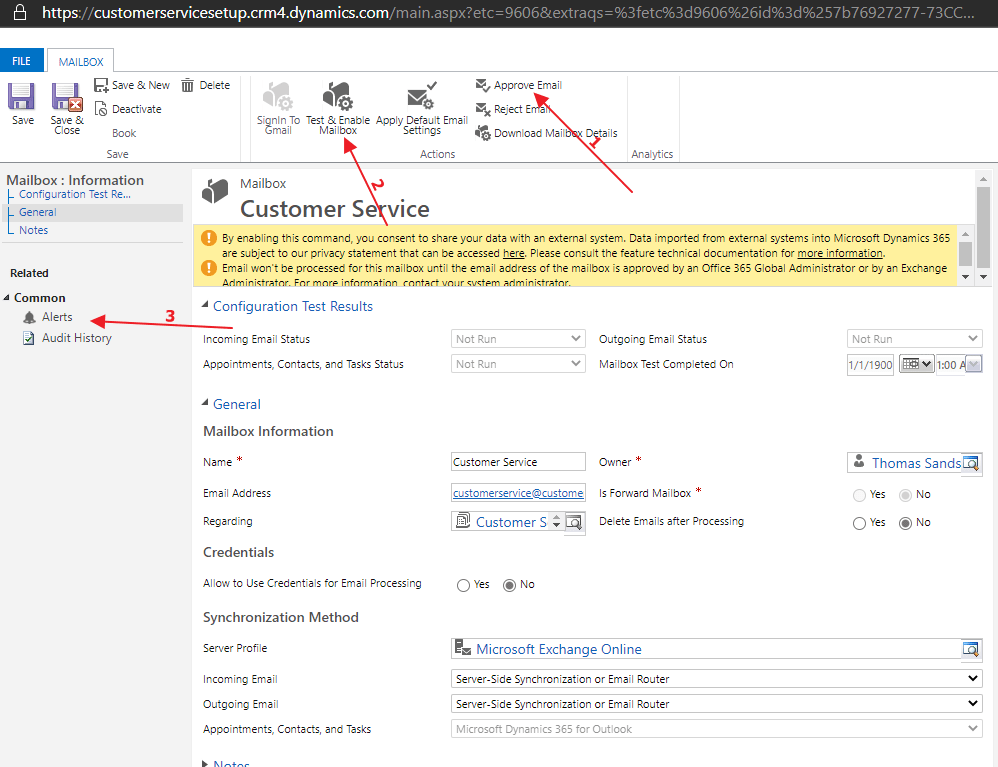
Step 2 you test and enable the mailbox. Once this is done, head on over to “alerts”

You might need to refresh this a few times before it displays anything. The refresh button in the upper right corner is the easiest way to update the feed. You should only see information messages now. This should not generate any errors.
6. Email Settings
Next step is really important for keeping the subject logic. All of this will make sense later when you see the reply of the emails you send. Open the Email Configuration Settings and make sure it looks just like below.


7. Create Account and Contact
Now we create an Account and Contact that we use for our demo. The Account name can be whatever you want, but the contact needs to have a valid email address.

8. Send Test Email Outbound
Now it is important to check that emails actually are going out of the system. Open the contact you created with the valid email address. Create a new email activity.

NB! make sure that you substitute the from address to Customer Service (queue you created earlier) before you hit send. This will send FROM the queue to the Contact.
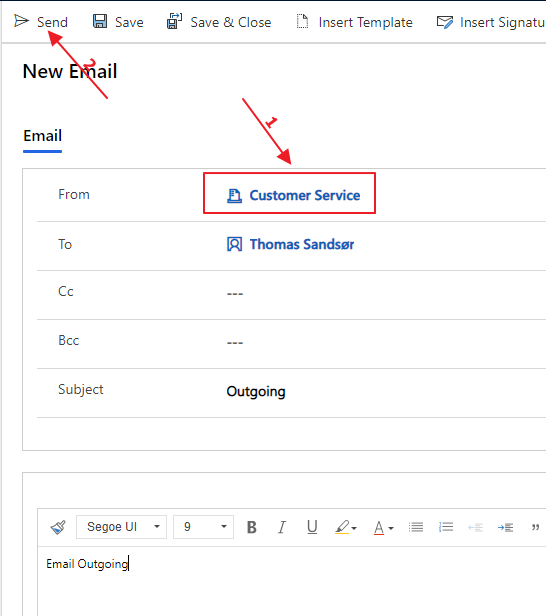
If things go as planned you will see an email appear in the mailbox. Be sure to check you spam if nothing is in the inbox!!!

9. Activate Record Creation and Upadte + add Team to Case Created Owner
After importing the solution you will now find “Email 2 Case” in the Automatic Record Creation area. Open this via the Customer Service HUB

Make sure you select your Queue that you have added earlier ADD QUEUE
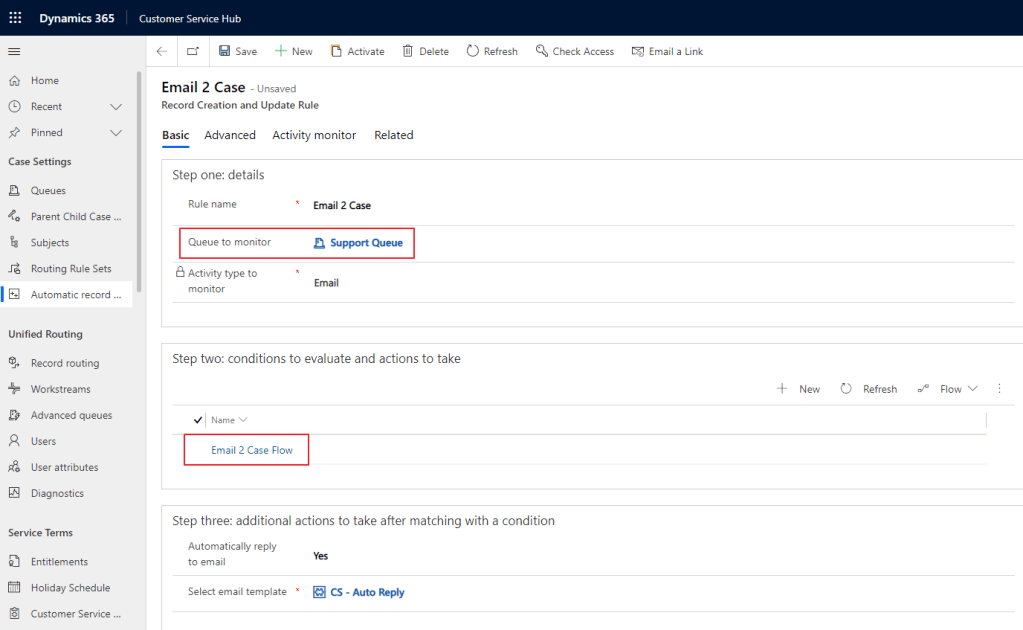
Open the Email 2 Case Flow to see the structure that Microsoft now has create for Email to Case.

If you like adding the Team as owner to the cases (Optional), you have to add this line to the Owner field in the Flow.
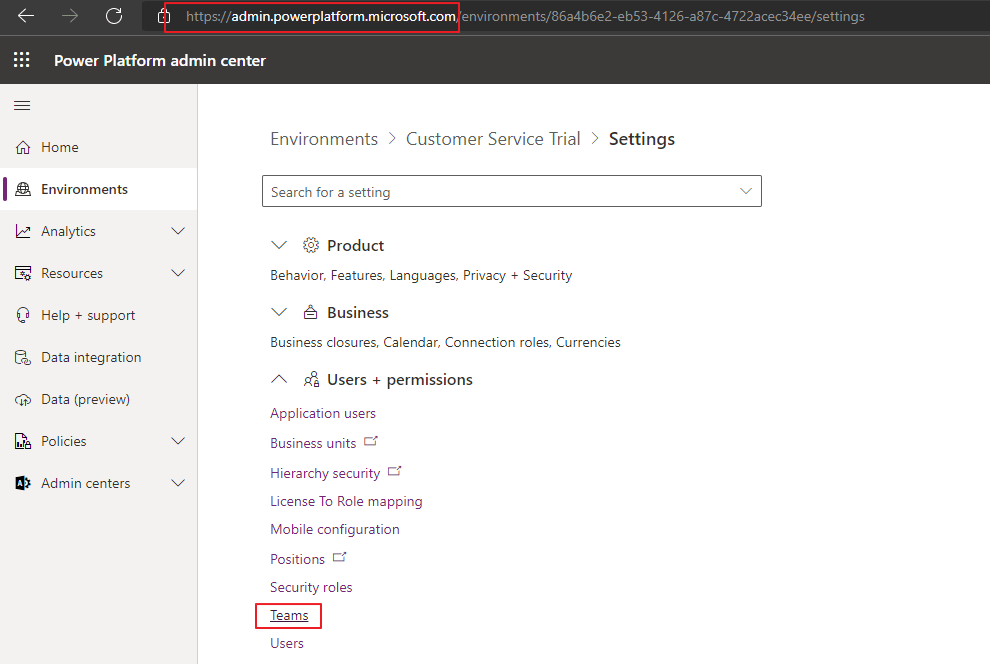
NB! You have to retrieve the GUID from the Team in CRM.

Fining the Team GUID

Last step is to Activate the email to case record creation.. At this point you should be able to see emails entering CRM via Cases.

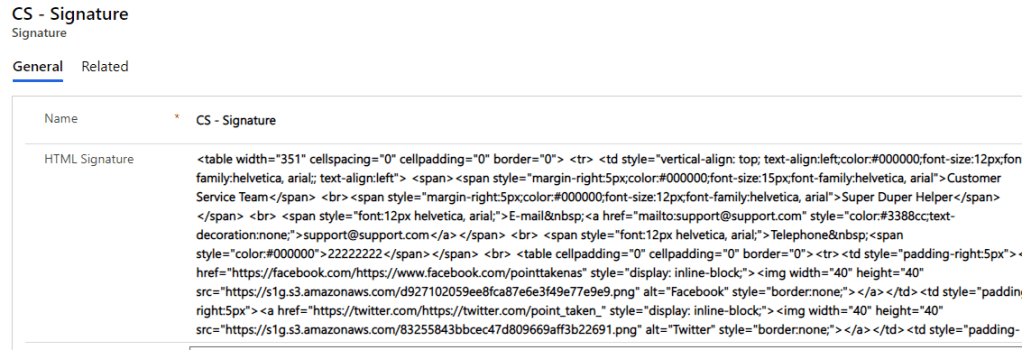
10. Add Signature
Next step we have create a signature for the user. Signatures can be personal or company specific. The signature is located under the setup section. Navigation is at the bottom left of the CS app.


The signature below is HTML. I don’t expect you do this from scratch. I have a great guide here
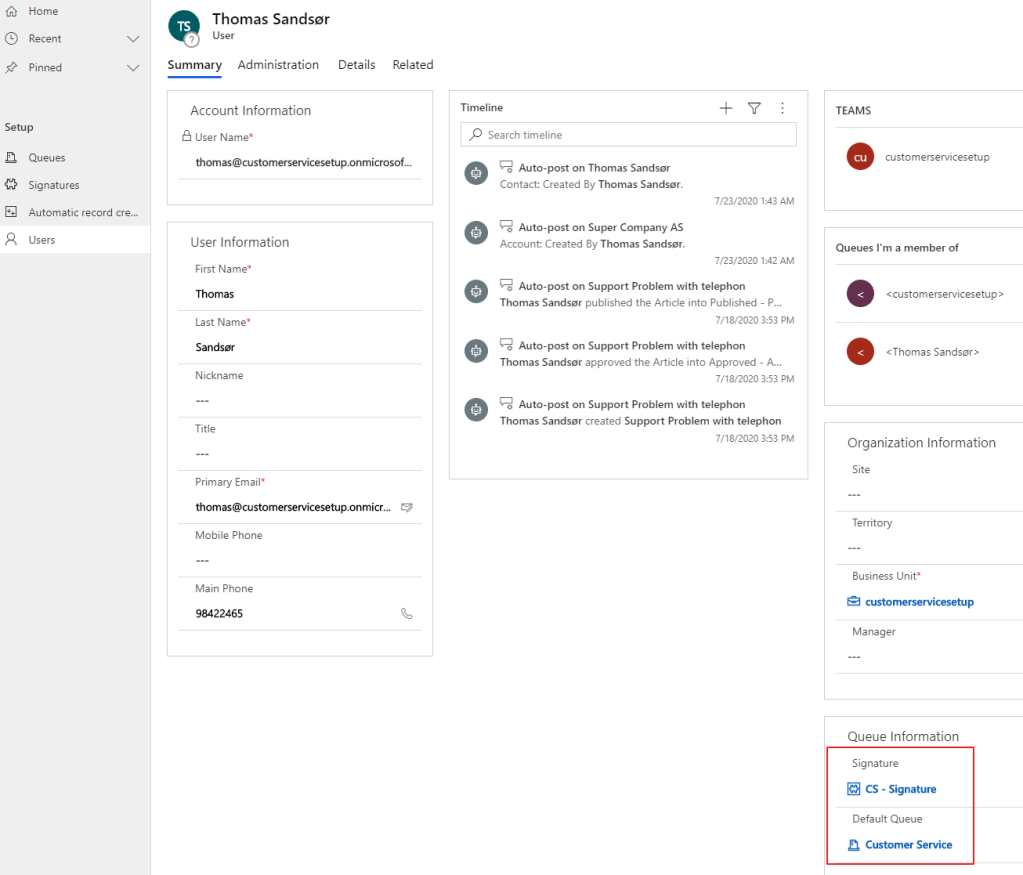
11. Add User with Signature and Default Queue
Getting close to the end now, we have to add all our hard work to the Customer Service User replying to the emails. In the user form you see 2 fields “Signature” and “Default Queue”.
Update with the queue you created earlier, and the signature you just created. This is what will defines what the email leaving the system will look like.
12. Add Email Warning – New Activity on Case
This last step is optional. I created it in Flow, so beware of possible hitches with a few things regarding the current environment connector.
The purpose is to notify the Agent that a new Email has arrived for the case. If for some reason the system received email to a close case, I reopen the case and notify the agent.
https://make.powerapps.com and open the solution Customer Service – CS
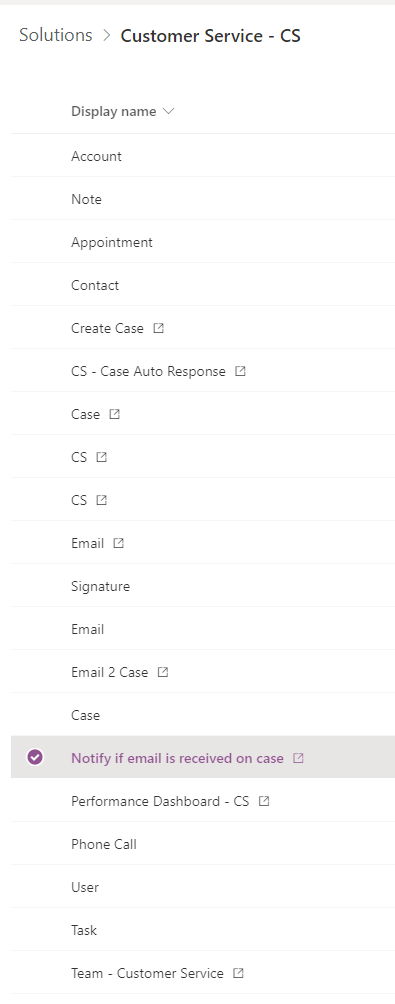
Open the Flow. You might be asked to authenticate the connection, so do this before you move on.
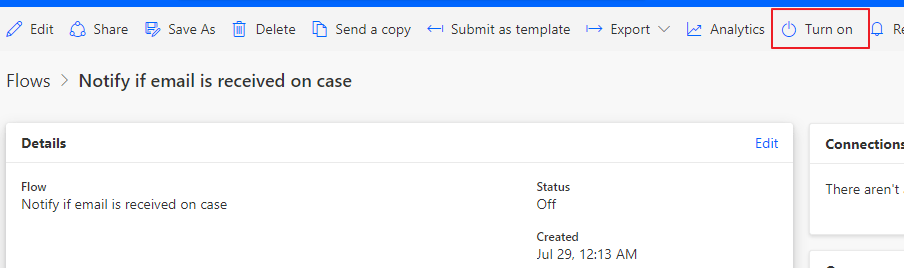
Last step is activating the process
You are now in action 😀
Let’s see what happens when I now send an email inn to Dynamics
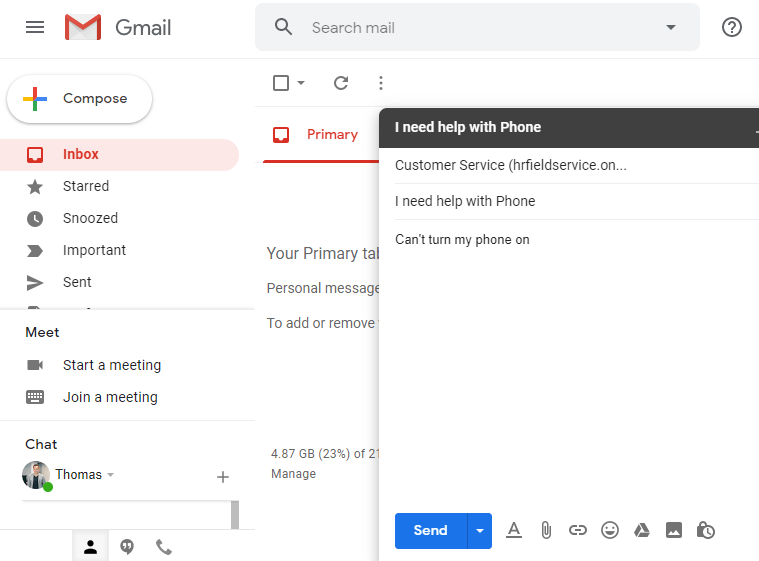
Then wait for the autoresponse

Inside of CRM the Case now has been created

Stay tuned
Next week I demonstrate how to demo the solution 🎬🎥
Discover more from CRM Keeper
Subscribe to get the latest posts sent to your email.

A superb article, well written and understandable and a quick way to get CRM up and running for a CS role. However I have found when deploying to a new 2021 WAVE2 CRM that the error “Convert Rules import: FAILURE: Template With Id = 558b4792-04c9-ea11-a812-000d3a2c81cd Does Not Exist” now presents itself on import – I assume the MS changes to automated rule creation has something to do with this?
LikeLike
I have now updated the solution, and been through a bit of stuff with Microsoft.. It should be OK now.. I tested it in a new environment late march 2022 🙂
LikeLike