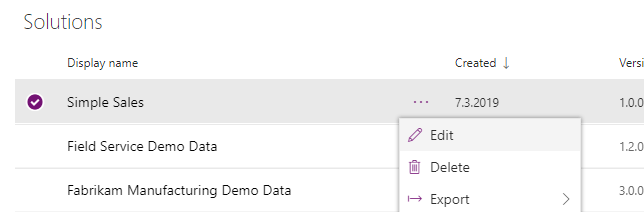
Open your dynamics instance and remember to force classic mode. The new UI hasn’t updated at the time writing this blog. At the end of the URL “?forceClassic=1”.
Select “Automatically add the app”, then click Save. The status will change to Pending, and the app will be added in the background. It might take a few minutes.
Some system emails in trial are special and might not work, but you should see the icon in the upper right hand corner next to reply all and the “thubs up”. Open the app.
This is what you see when the app is loaded in your Outlook. More about the app in a later post.
This is a series about installing everything you need to display the simple sales. Therefore this is only showing what you need to do for the simple sales demonstration, and everything is based online.
If you are forced into the new UI like the picture above, you need to change your url to force the classic view. add “?forceClassic=1” to the end of the string to get the old view.
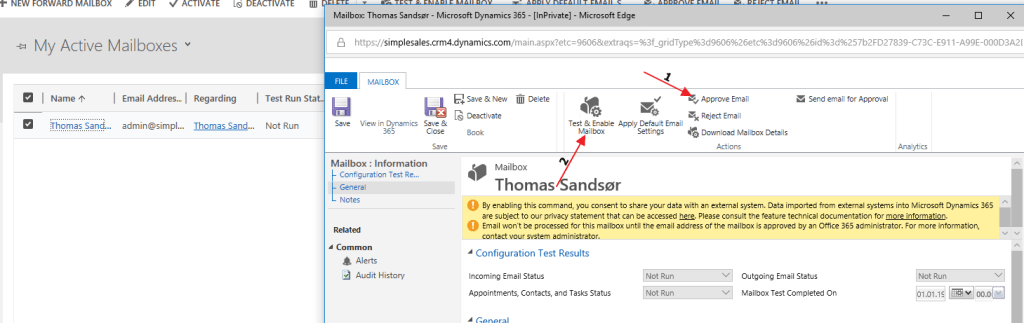
Open Email Configuration and then the mailbox
Open the record in view. First you need to approve the email (has to be done by the global administrator). Then you can “Test & Enable” the mailbox.
On the alerts over to the left you should se the results as completed. The setup of the Email router is now complete.
Next step we have to setup the email rules. This is not important for the simple demo, but this is how I would consider setting up the email router settings in a prod environment.
I chose to use correlation and smart matching to track emails. I personally don’t like the tracking token, and if possible would avoid it. I do see a few cases where it would make sense to keep, but there is no real right or wrong here.
This setup is based on the simple demo setup in my blogg, and if you have any other complex setup this might not work. Dynamics 365 supports many different configuration of Exchange, but that would be a more technical article.
During ignite 2018 Jukka introduced me to reference panels during a hands on lab. At the time I couldn’t for the love of god understand what the point was. It was being viewed in the “old” UI and it all looked really stupid.
Then all of the sudden Unified Interface made it all come together for me.
First start off by getting a hold of some icon’s (New icons for Dynamics 365 UI) Contact Opportunity Case
To add icons to your solution check this blog
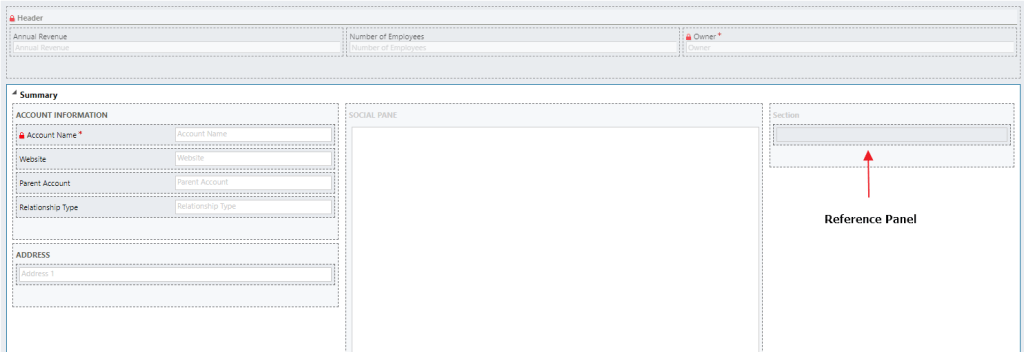
Start of by adding a reference panel to your Account form. A new section will be added.
The section looks completely normal, but it is different. I have chosen to move the section to the right part of the screen. Now when you add a subgrid to this section, you will see the difference!
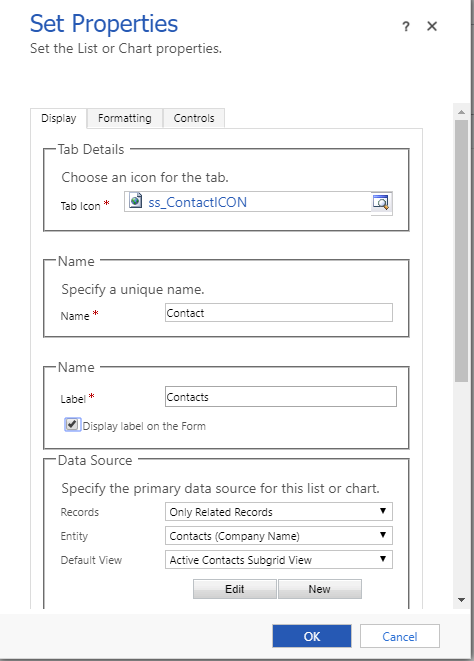
Adding reference panel subgrid
Notice the difference here? “Tab Icon” is required. Locate the .svg file you downloaded for contact, and the rest is the same. Repeat the process for Opportunity and Case.
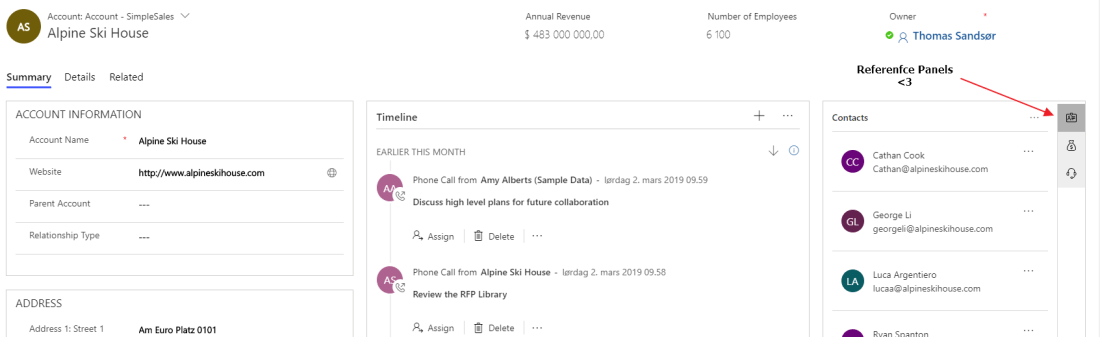
Save & Publish. Now open Unified Interface to view your form
Again I have to state that we all have different preferences, and this is only my suggestion on how to make a simple demo. We all see the world different, and therefore no right or wrong answers here:)
The whole point here is to add existing entities Account, Contact, Opportunity to the solution.
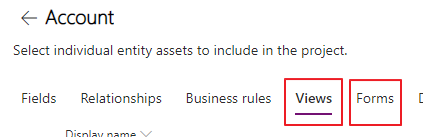
I prefer to only add what I will be working with. So I add the following views and forms for all entities
Entity
Account
Contact
Oppty
Form
Main + QuickCreate + QuickView
Main + QuickCreate + QuickView
Main + QuickCreate + QuickView
View
Open Account + Ascociated view
Open Contat+ Ascociated view
Open Account + My Opportunities + Ascociated view +
You don’t really need the views, but I like them in case I want to do some editing, because I don’t have to create them from scratch. The QuickView form is because of the Reference Panels.
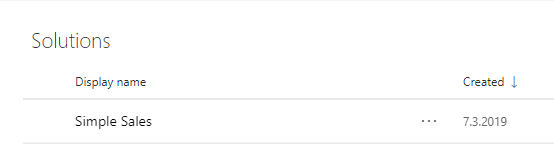
Your solution should look something like this now.
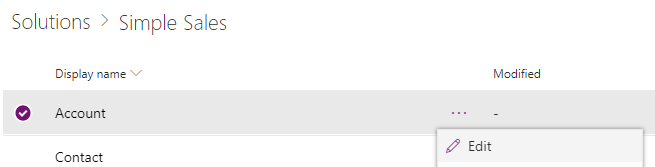
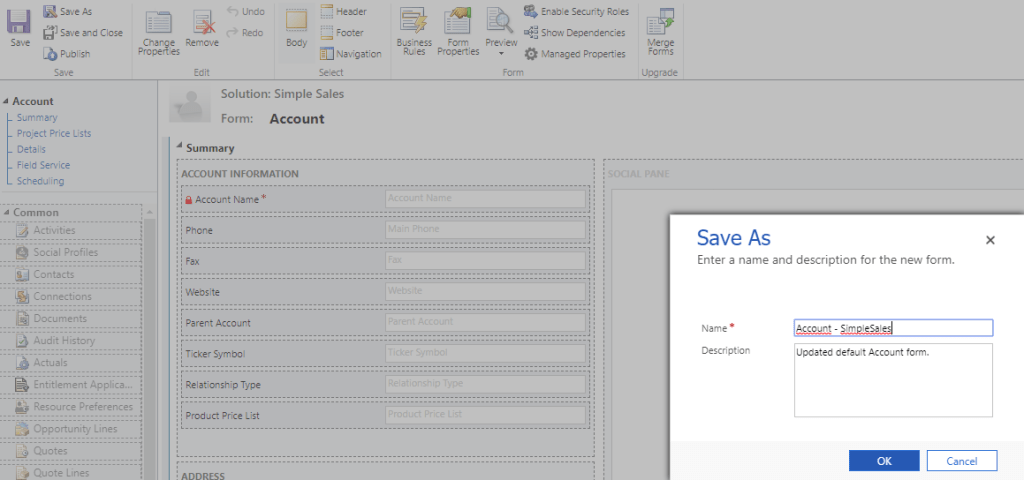
For the next step I configure the forms
NB!!! Before you edit the form, click “save as” and give it a name. I never configure the main forms because I want to keep them untouched for all future MS updates.
I also like to control the activity view, because the demo can be very “cluttery” if that is even a word.
Appointment, Email, Phone, TaskRemove as much as possible
Remember the 16×16 and 32×32 icons? Well, you don’t need them any more:) All you need to think about now are the .svg icons that adjust accordingly to what it should.
The issue at hand is one we all know and hate. The little puzzle image that indicates that you didn’t take the time to complete everything 100%. In my case I created a custom entity called Project.
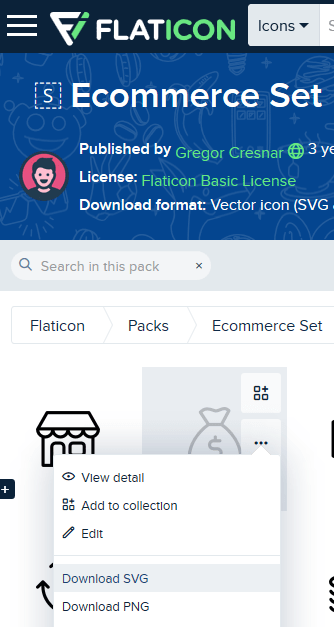
https://www.flaticon.com <– Go here to get a hold of any icon you want. Free if you give credit to the author of the file. Remember that you have to download .svg file format.
Locate correct iconCredit:)
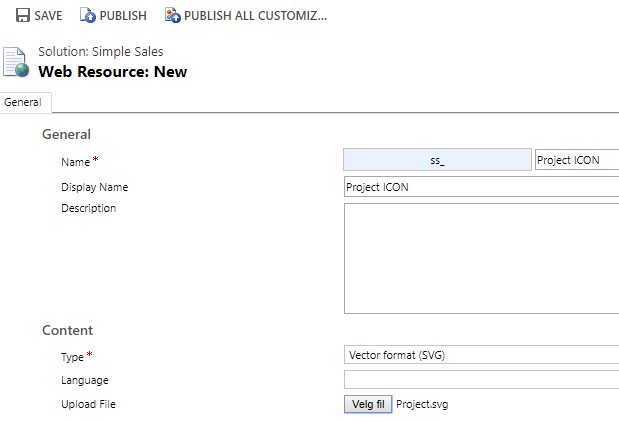
Open your solution and add a new webresource of type .SVG. Remember save and publish!
Create WebresourceSave and publish
Unfortunately you now have to navigate to the Classic view, because this is currently not available in the PowerApps configuration yet.
Open the icon update, and select your new webresource Project Icon. Save and publish the entity.
Locate the correct .svg file
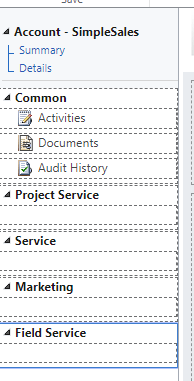
Open your UI app, and voila!! Everywhere will now have the correct icon because Dynamics 365 UI is automatically formatting this to the correct size 🙂
Creating apps is essential for showing only what the user needs to see. Remember that Dynamics is an enterprise platform, but a simple sales role only needs to se bits of it. Therefore we create an app containing the configuration we want the given security role to see.
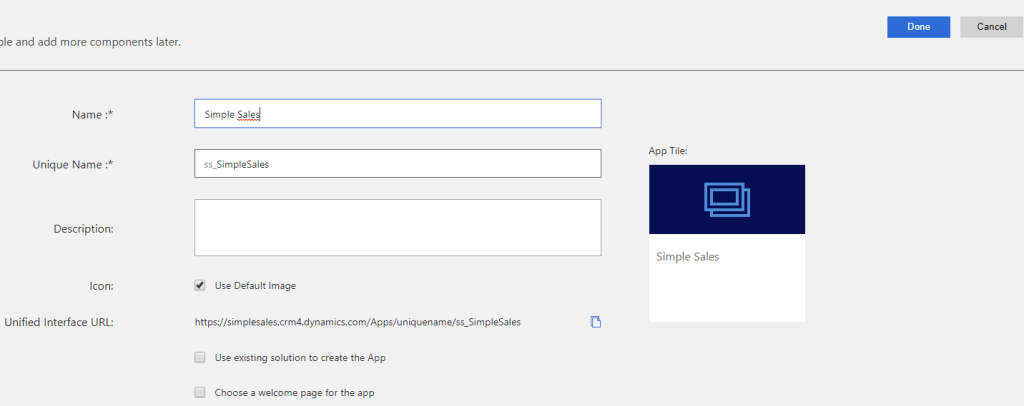
Add a new Model-driven app. This is what we CRM consultants know as a regular CRM configuration. A Canvas app is the “No Code – Low Code” powerpoint approach to designing apps. Trust me, it is code and it is not what you want for this simple exercise.
Creating Model Driven App UICreating a sitemap dynamics365 UI
This is where it starts getting tricky if you are here for the first time. The sitemap that we used to design in other tools has now been moved into Dynamics, and is configurable PR app. Start by opening the sitemap. The entities will come later.
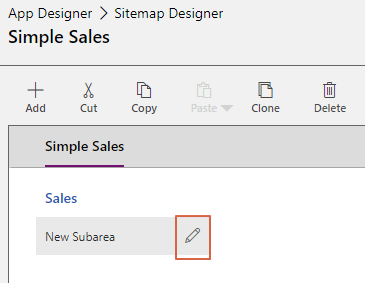
Designing sitemap Dynamics365 UI
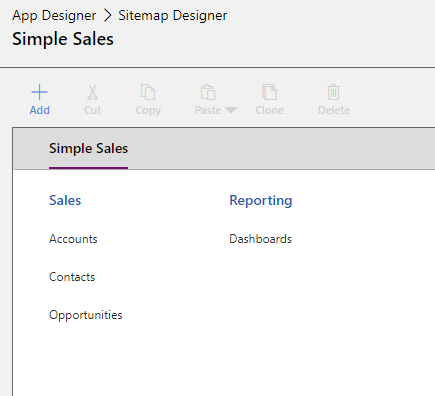
The clicks here might be a little confusing here, but it will make sense in the end. I put “Simple Sales” as the name of the app and the main navigation. You can put whatever you want there. Sales is a grouping and SubArea is the entity we are going to define. Use the “+” when adding. Drag an Drop doesn’t always work that well.
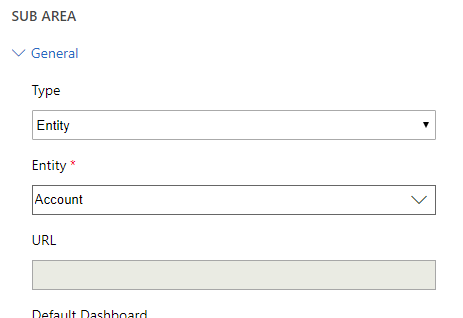
Sitemap define entities
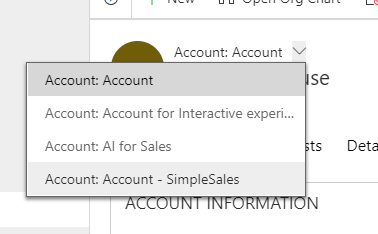
On the right side you choose type “Entity” and entity “Account”.
Sitemap final result
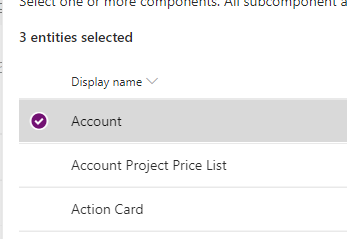
Eventually I ended up with this. All I need to see is are 3 entities and Dashboard for my simple sales demo.
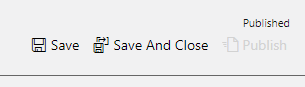
Save and publish
Do not forget to click “save”, then “publish” before “save and close”. If you don’t publish, you won’t get the changes you need.
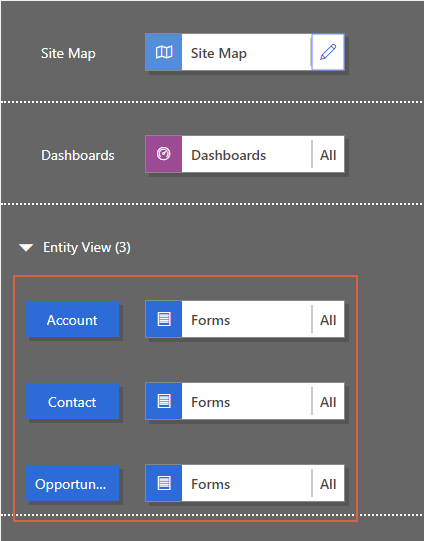
The app is almost done
As you can see the app is now populated with a few new entities. In my simple demo I am not going to limit what is shown out to the end user. You have the option of choosing forms, dashboards, view etc.
NB! Open this in private browser or profile in Chrome
The following URL will start up a Office 365 E3 30 day trial, and that is exactly where you want to start. Creating Dynamics trial directly won’t show the wonders of the O365 admin panel. More about that later.
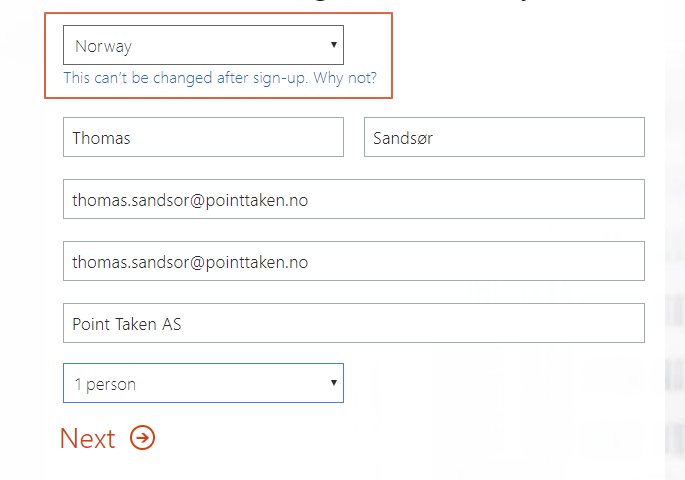
I choose Norway here because I want the European datacenter fir Dynamics. This is not the language of Dynamics, so choose the country where you live.
Create User
Just call this user the admin. It will have global admin rights, so no need to name it anything else. NB! name the organization something that you won’t be using for a production instance. Give it a name “CustomerDemo.onmicrosoft.com” som the name later on isn’t taken.
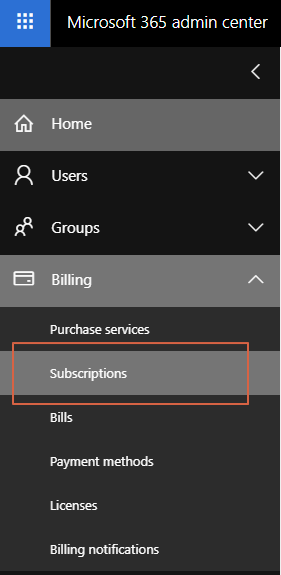
From here you open the Admin panel, and we are going to sign up for a Dynamics 365 trial.
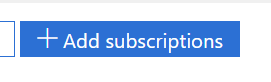
Open AdminOpen SubscriptionAdd SubscriptionStart Dynamics Trial
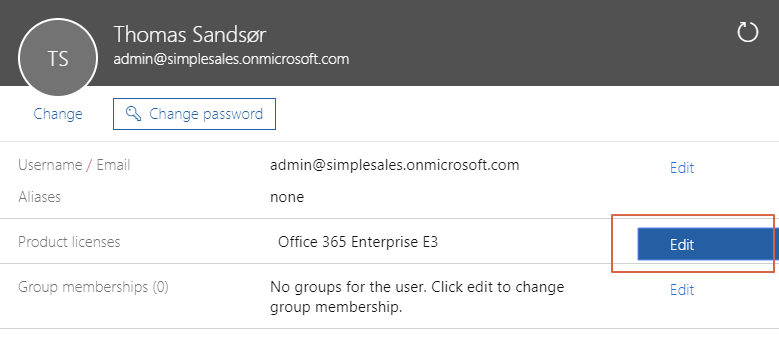
After the trial is ready, remember to assign the license to the user.
Locate userAdd licenseAdd license
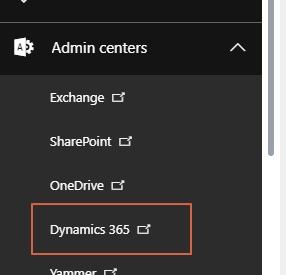
Now you can open the Dynamics 365 admin center. I am choosing to open the original center because the new center still isn’t fully functional yet.
Open Dynamics admin
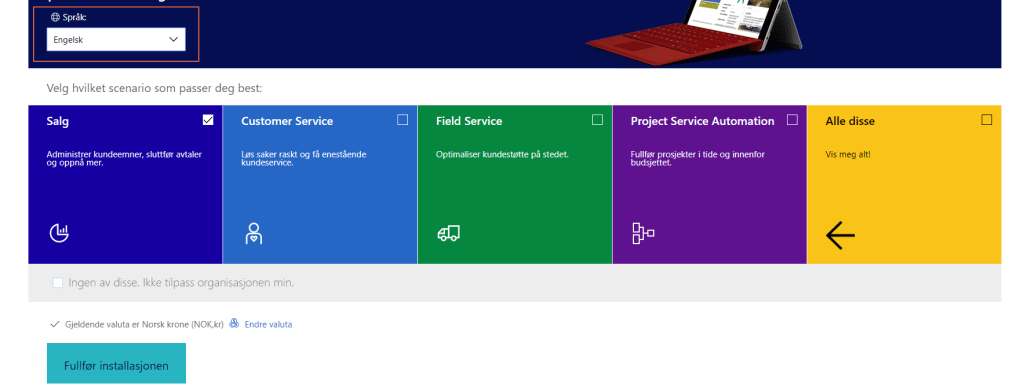
The first time you open this button you will be prompted with the question of apps you want to install. This process will also install demo data. NB! this time you need to choose the language and currency. This will define the language and currency of you Dynamics installation as base, and can’t be changed later!
Choose setup
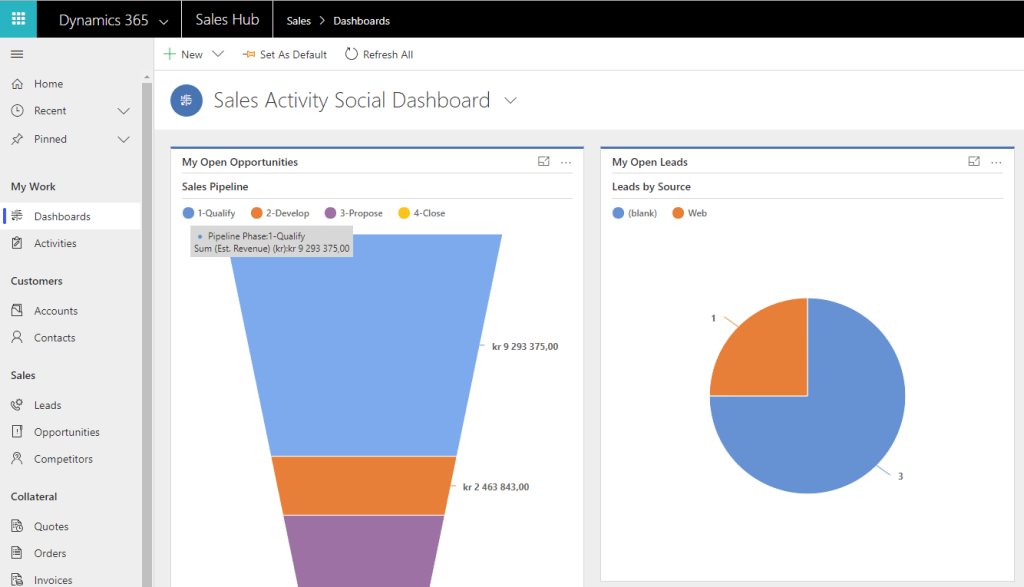
After a few moments you can access the Dynamics installation via the administration panel to see what has been setup.
Open DynamicsResult
You now have a new trial. I would advise to follow my page about setting up a good demo. There is still a lot of work to be done “How to demo Sales“